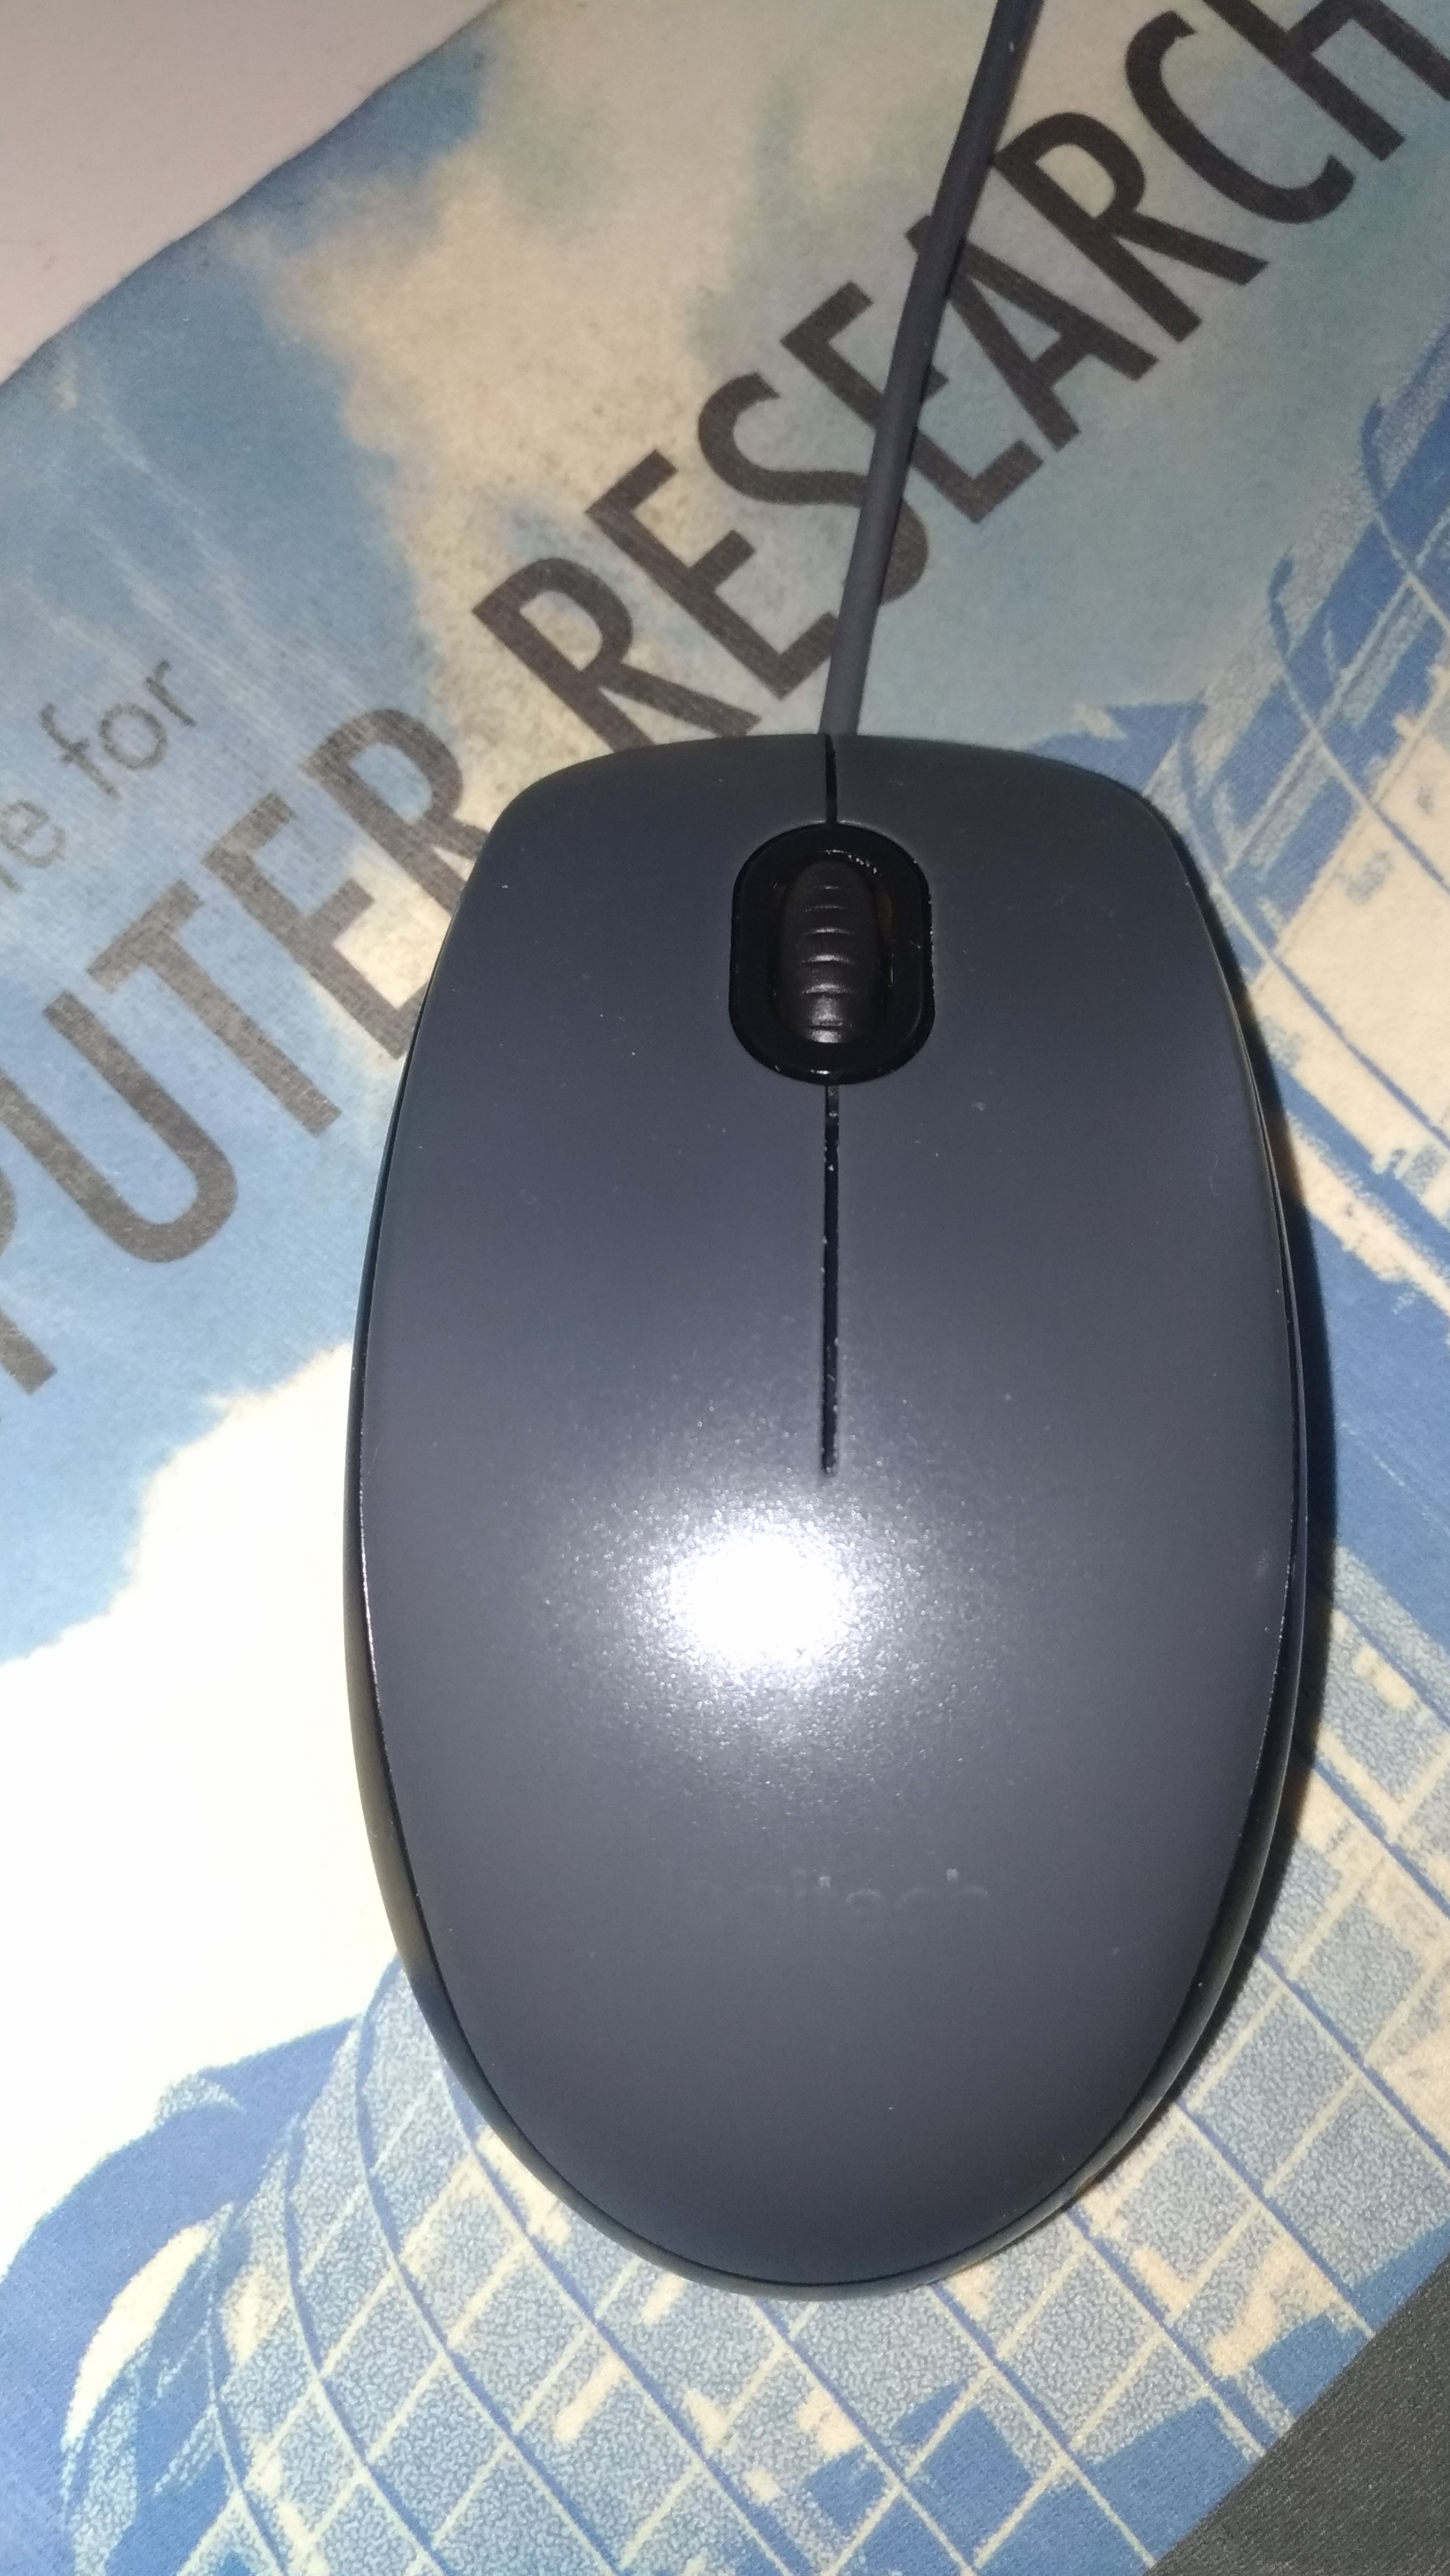
My $15 Logitech M100 mouse has served me well for at least two years. It’s been so long that I can’t remember when I got it. It’s suffered so much abuse you can no longer make out the Logitech logo on the bottom. This is the second time it started double clicking. The first time I was able to fix it by opening it up and blowing compressed air at it. If you’re experiencing double click, you might want to try blowing compressed air on it. However, this time it didn’t work. After some googling, I suspected it might have something to do with the switch. There are some tutorials online on how to fix it, but they didn’t go into enough details. The two areas I wish there was more info on: opening the switch and how to bend the metal. I put together these instructions to help out with extra detail on those two steps.
2. Opening the Mouse
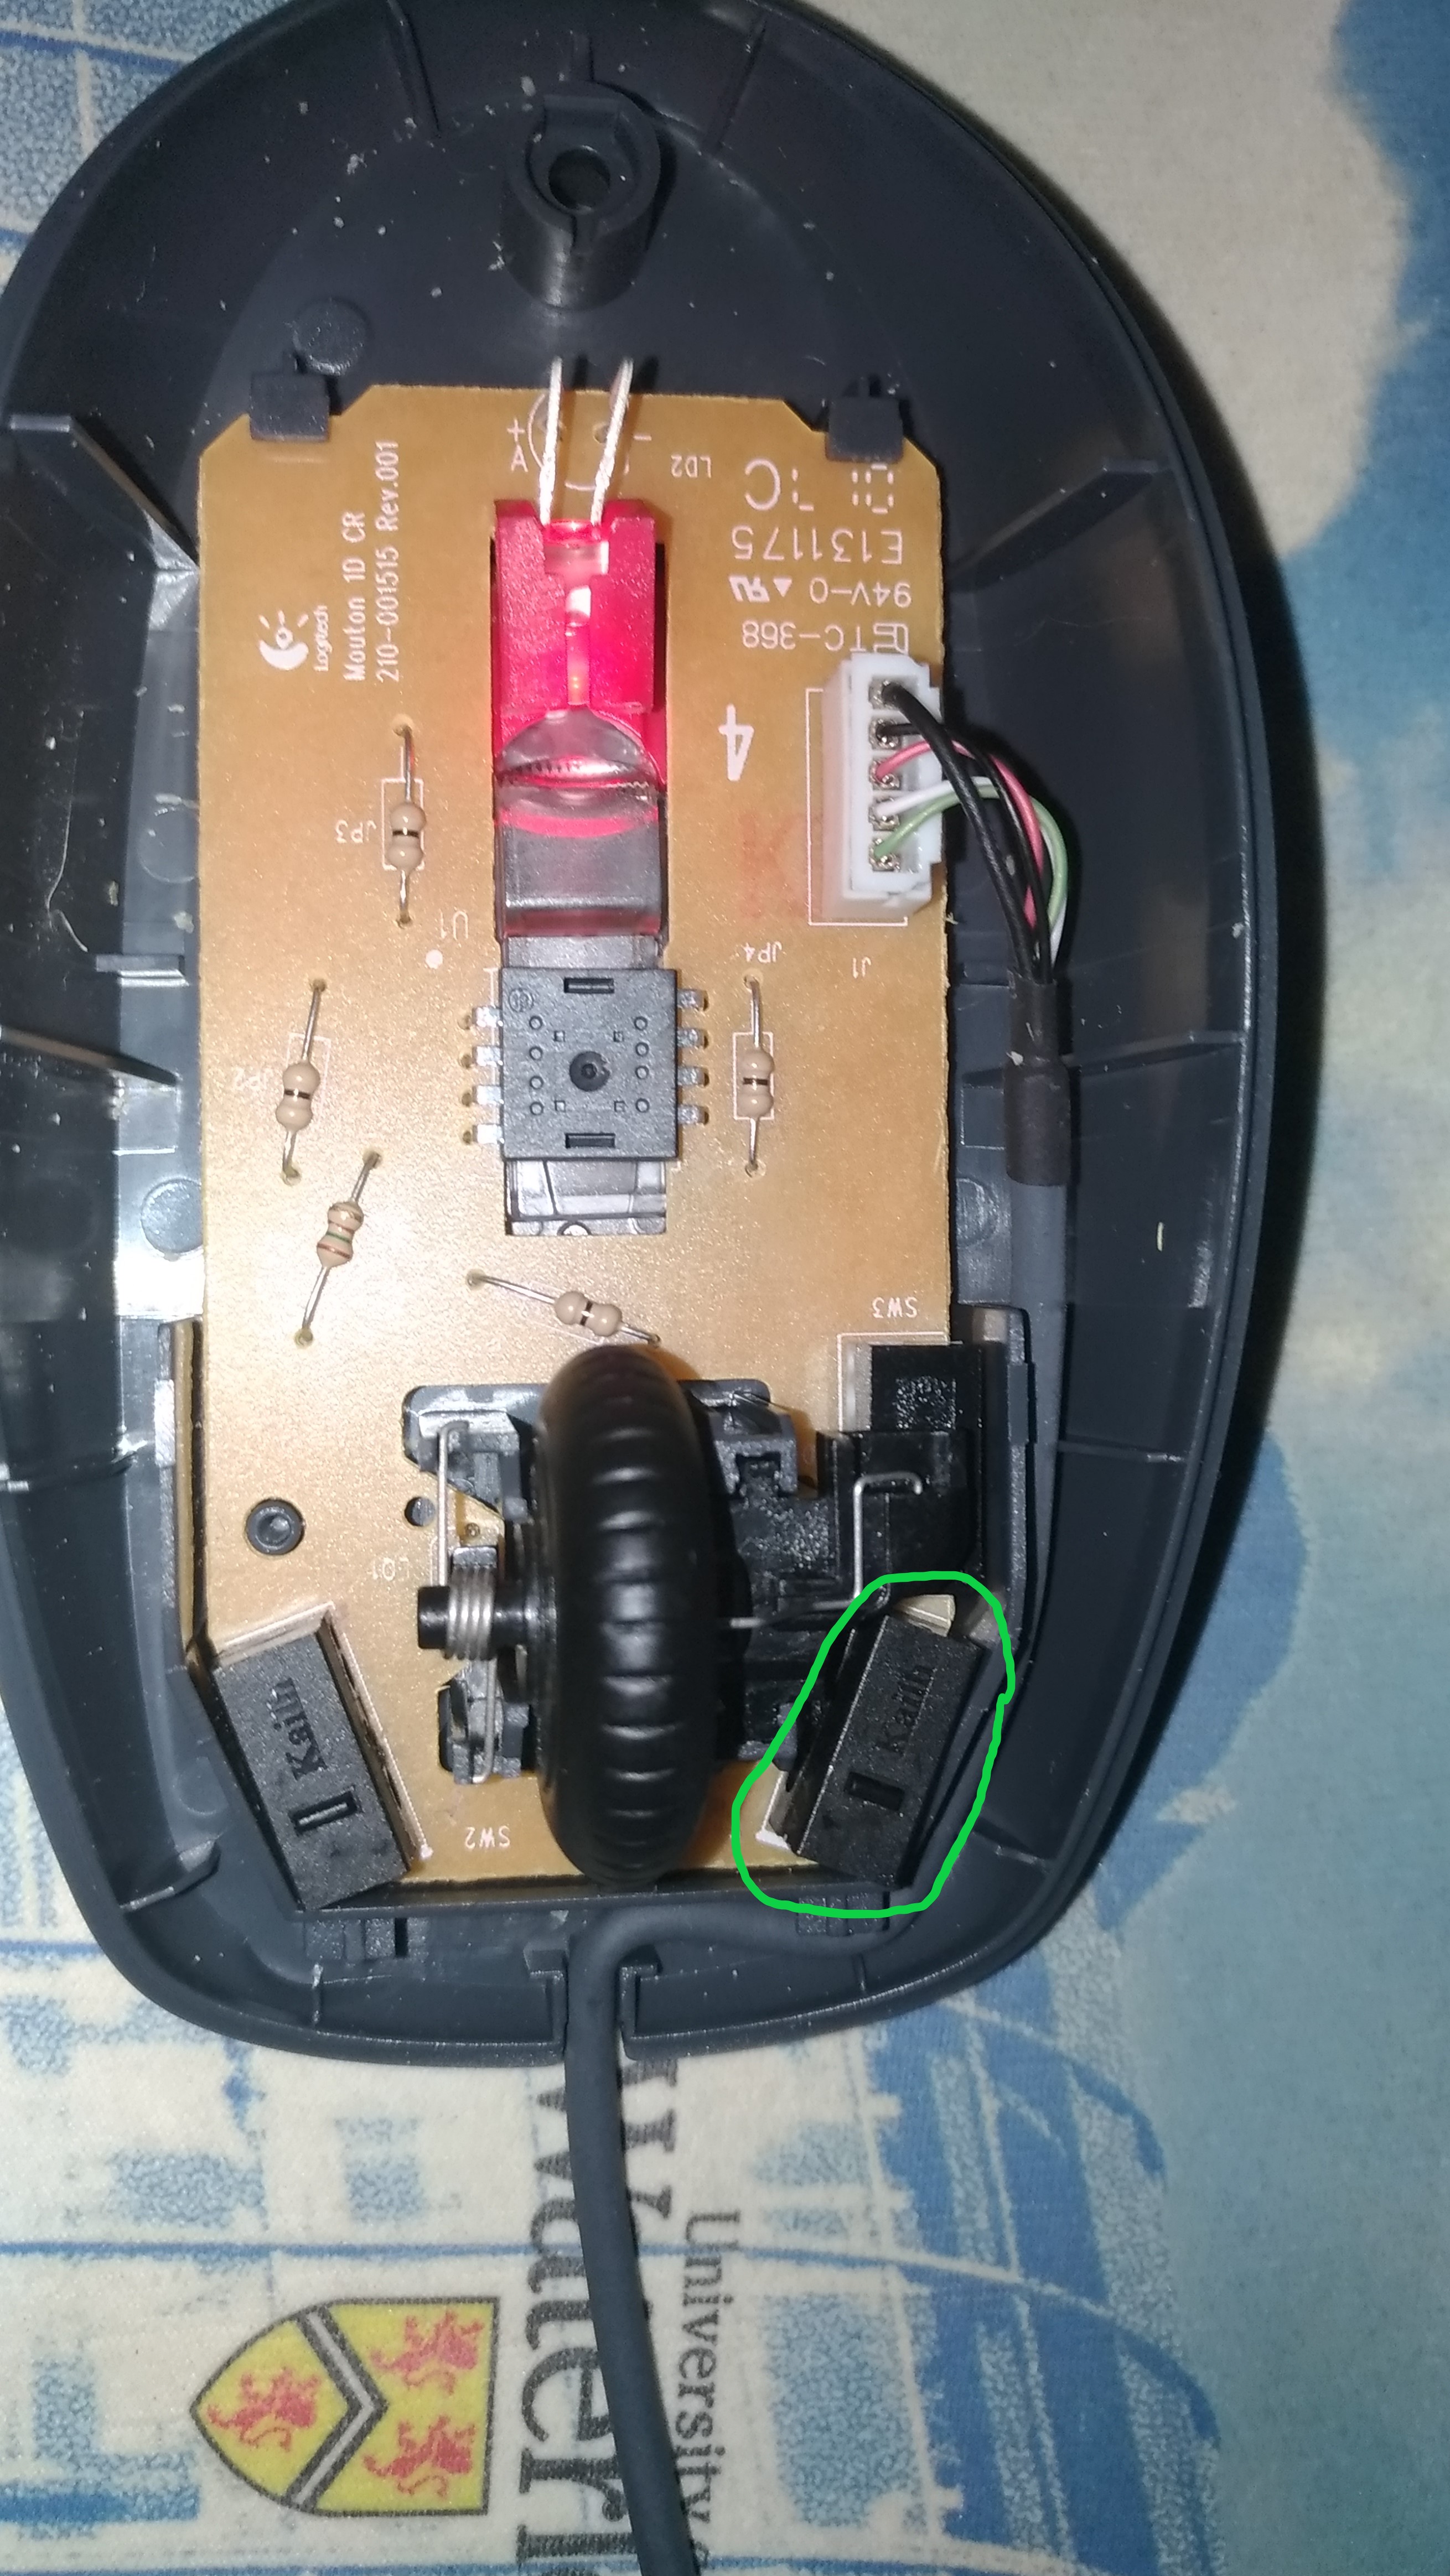
To open the mouse, there’s a Philip’s screw on the bottom.
After unscrewing it, the top will come off easily.
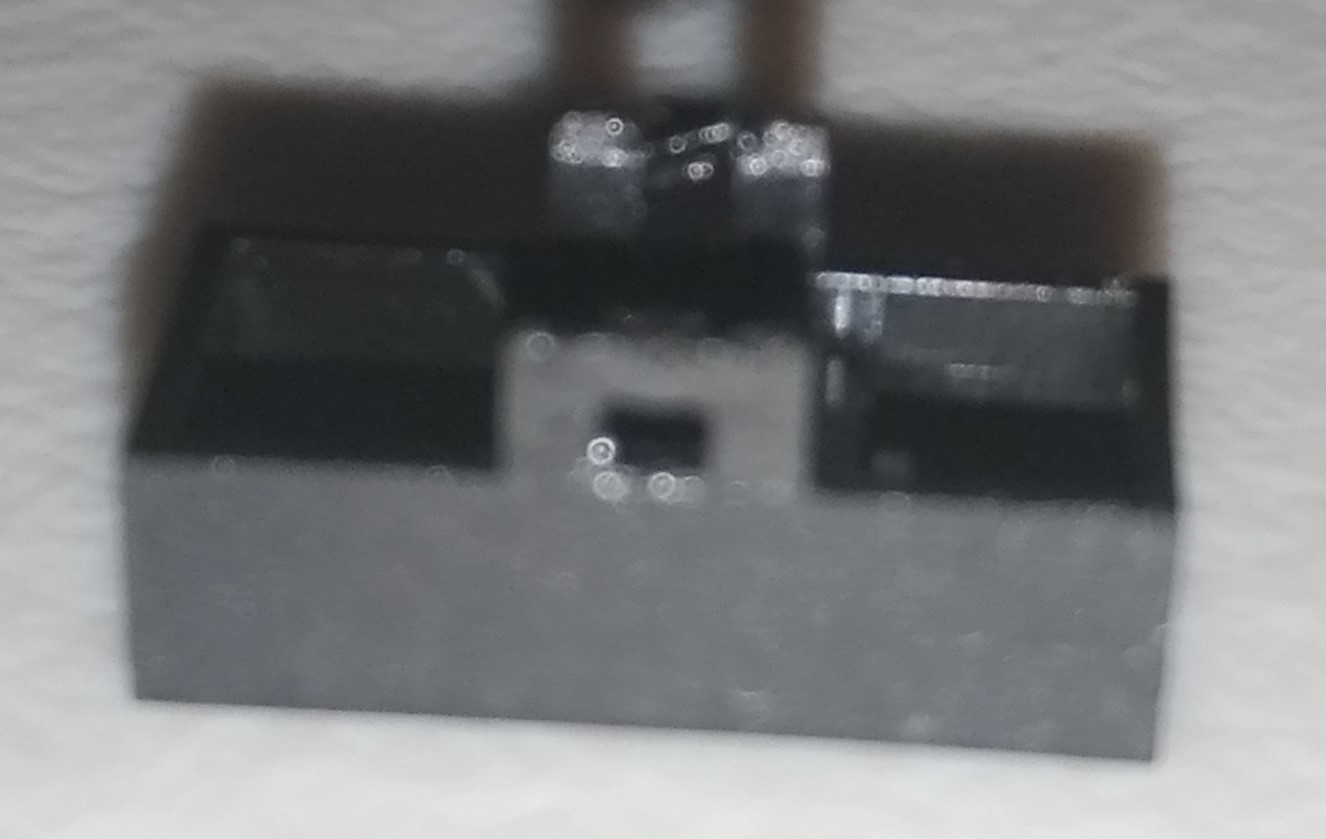
I highlighted the left click switch that was double clicking:
3. Opening the Switch
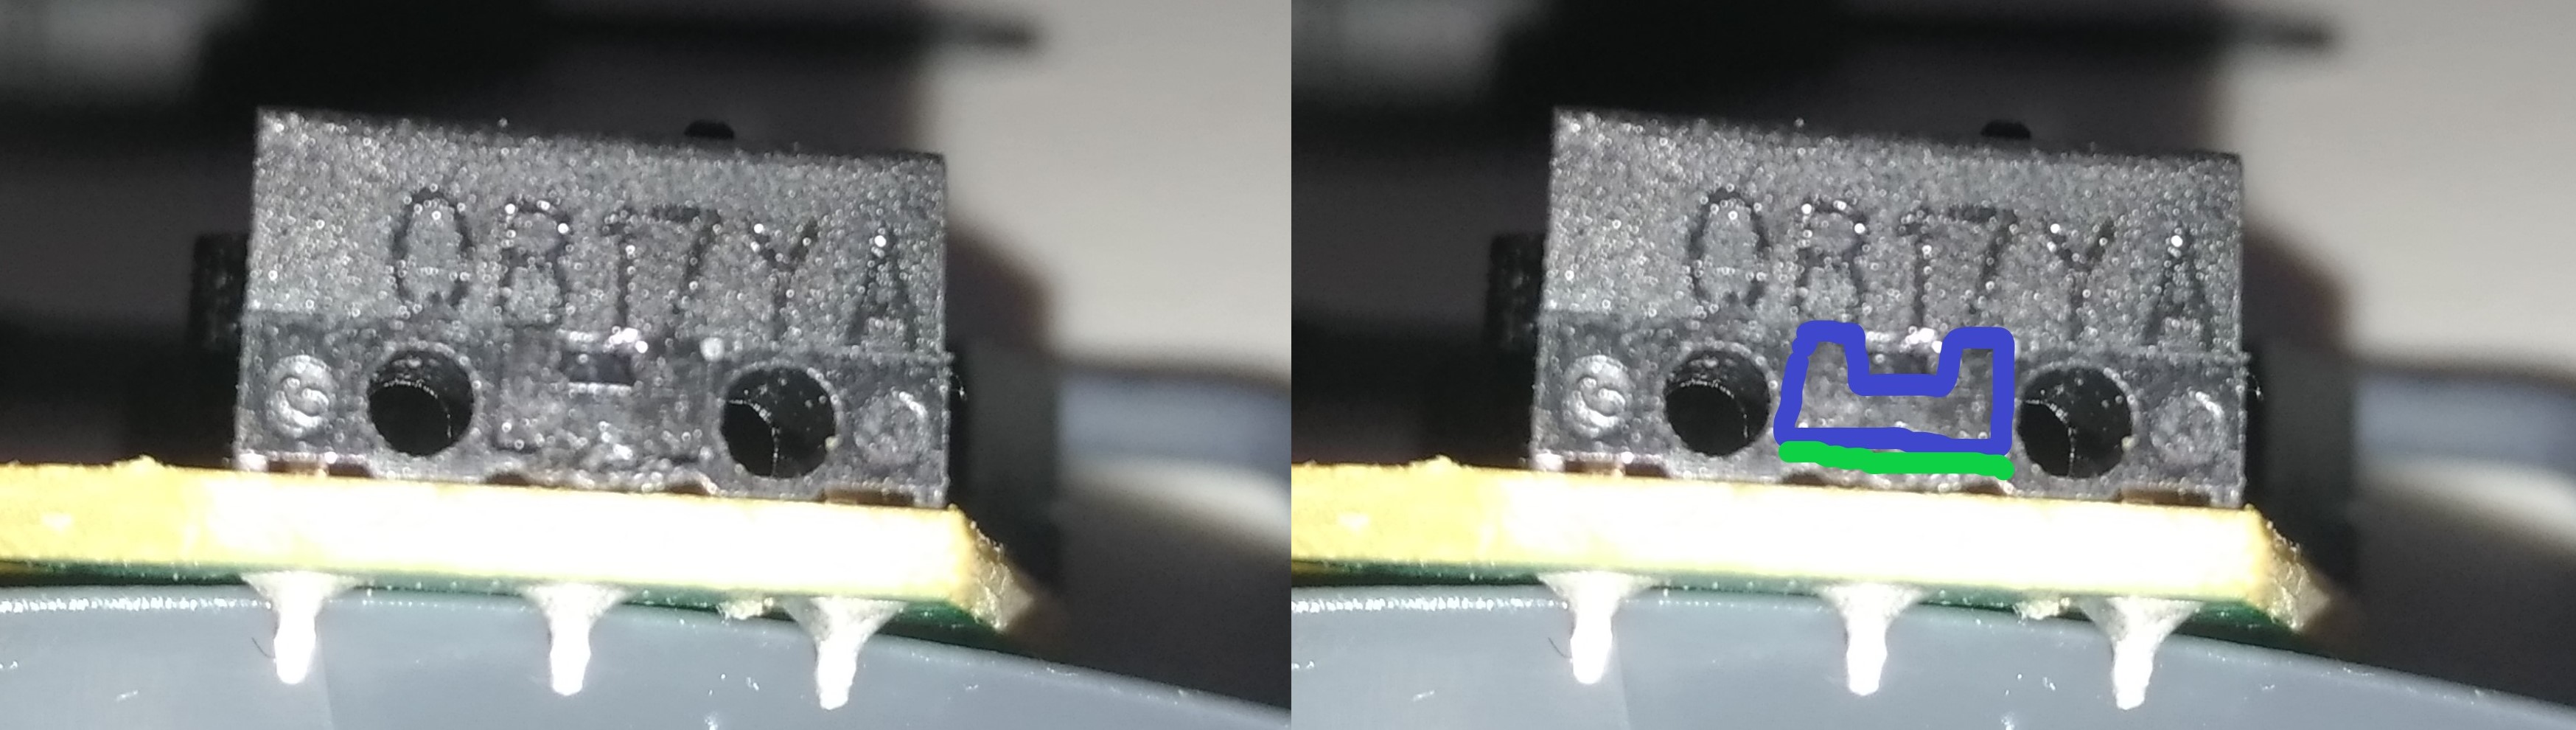
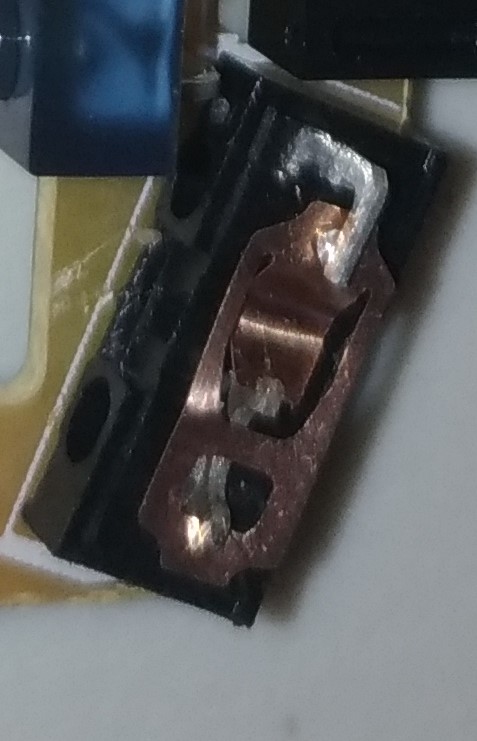
The M100 Logitech mouse uses two Kailh 0817YA or 0B17YA switches for the left and right buttons. I had trouble reading the serial number even with my glasses on. The switch has two clips on the longer sides holding it place. You want it to be closed tight to prevent dust and oil from your fingers from getting inside. Any foreign objects can prevent a clean connection when you press your mouse button.
I got a small flat head screw driver right under the clips (highlighted in green), and pried it open.
I scraped at the opening until my flat head was able to fit in the small opening of the clip.
Do not go underneath the switch, or you’ll snap the switch off the board.
Warning: You will likely damage the clip like I did!
Fortunately, I was going to throw out the mouse, so I didn’t care.
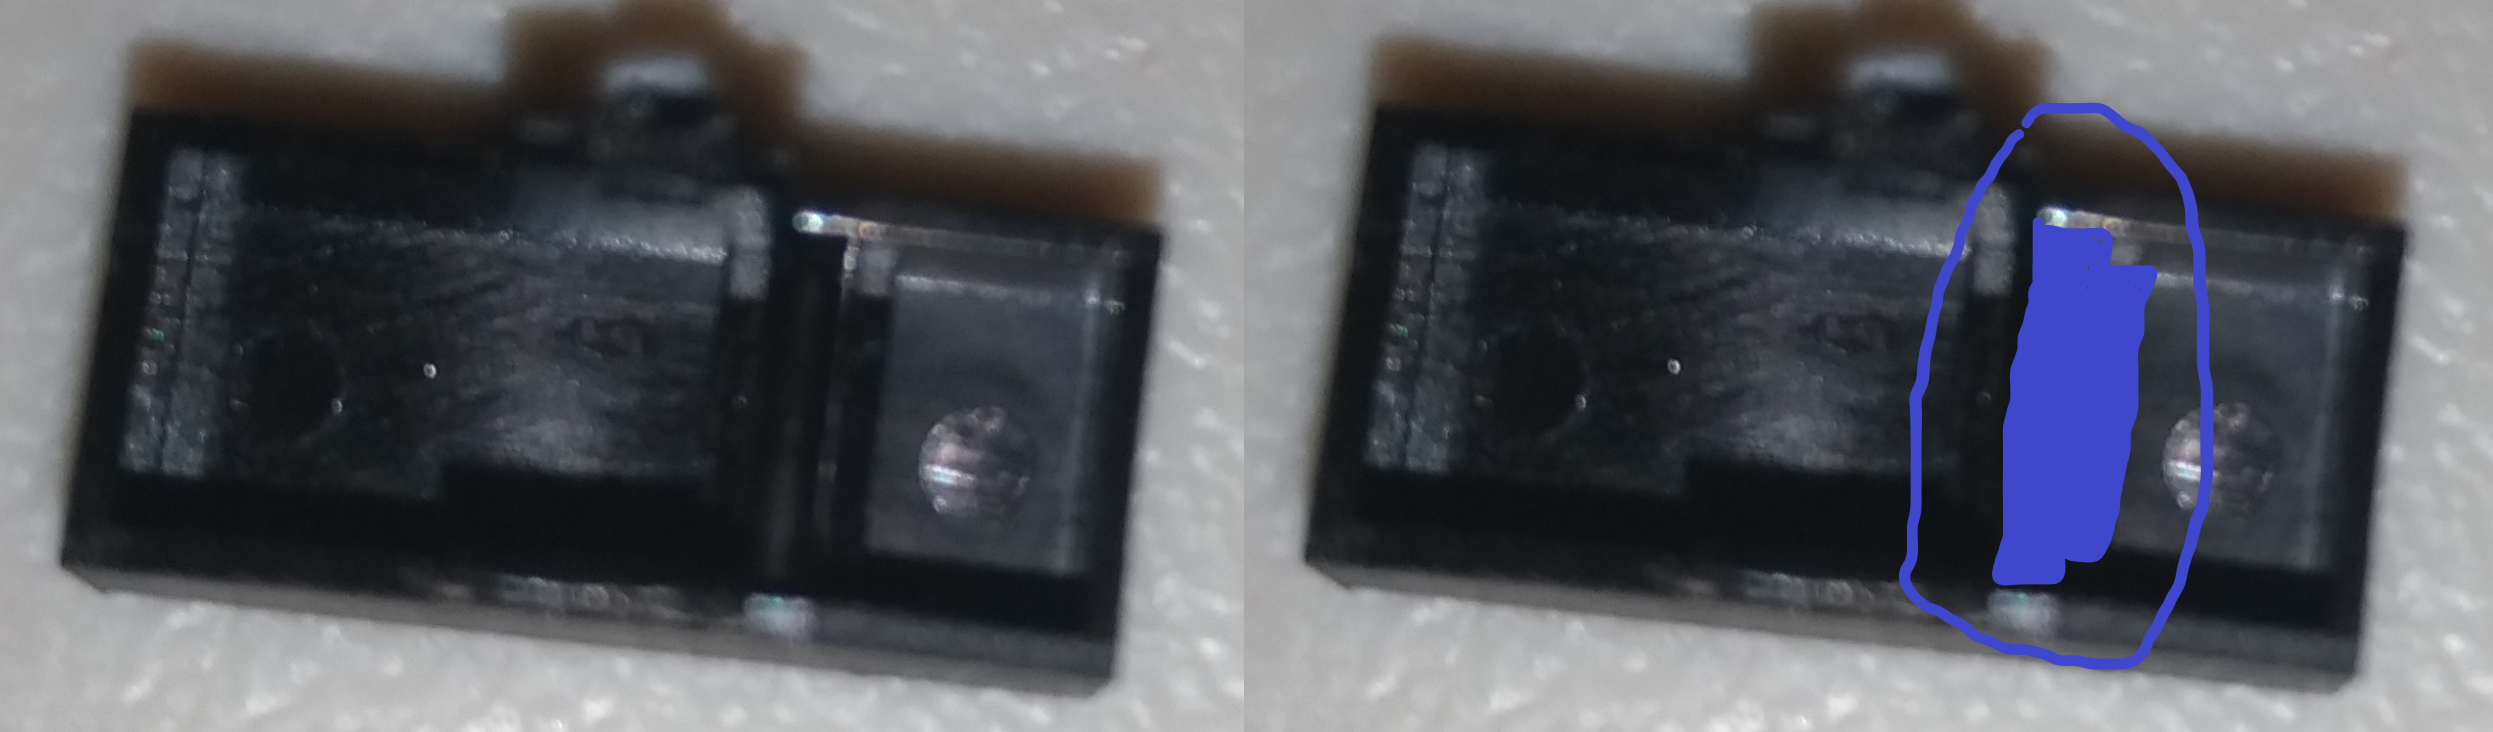
4. Success but Be Careful
After opening be very careful.
There is a small fat T shaped piece that will come loose.
DO NOT LOSE IT!
That’s the piece that the top of the mouse presses to bend the metal to click.
Notice that my clips are damage; fortunately, they still were able to lock back on to the switch when I put them back.
5. Fixing the Switch
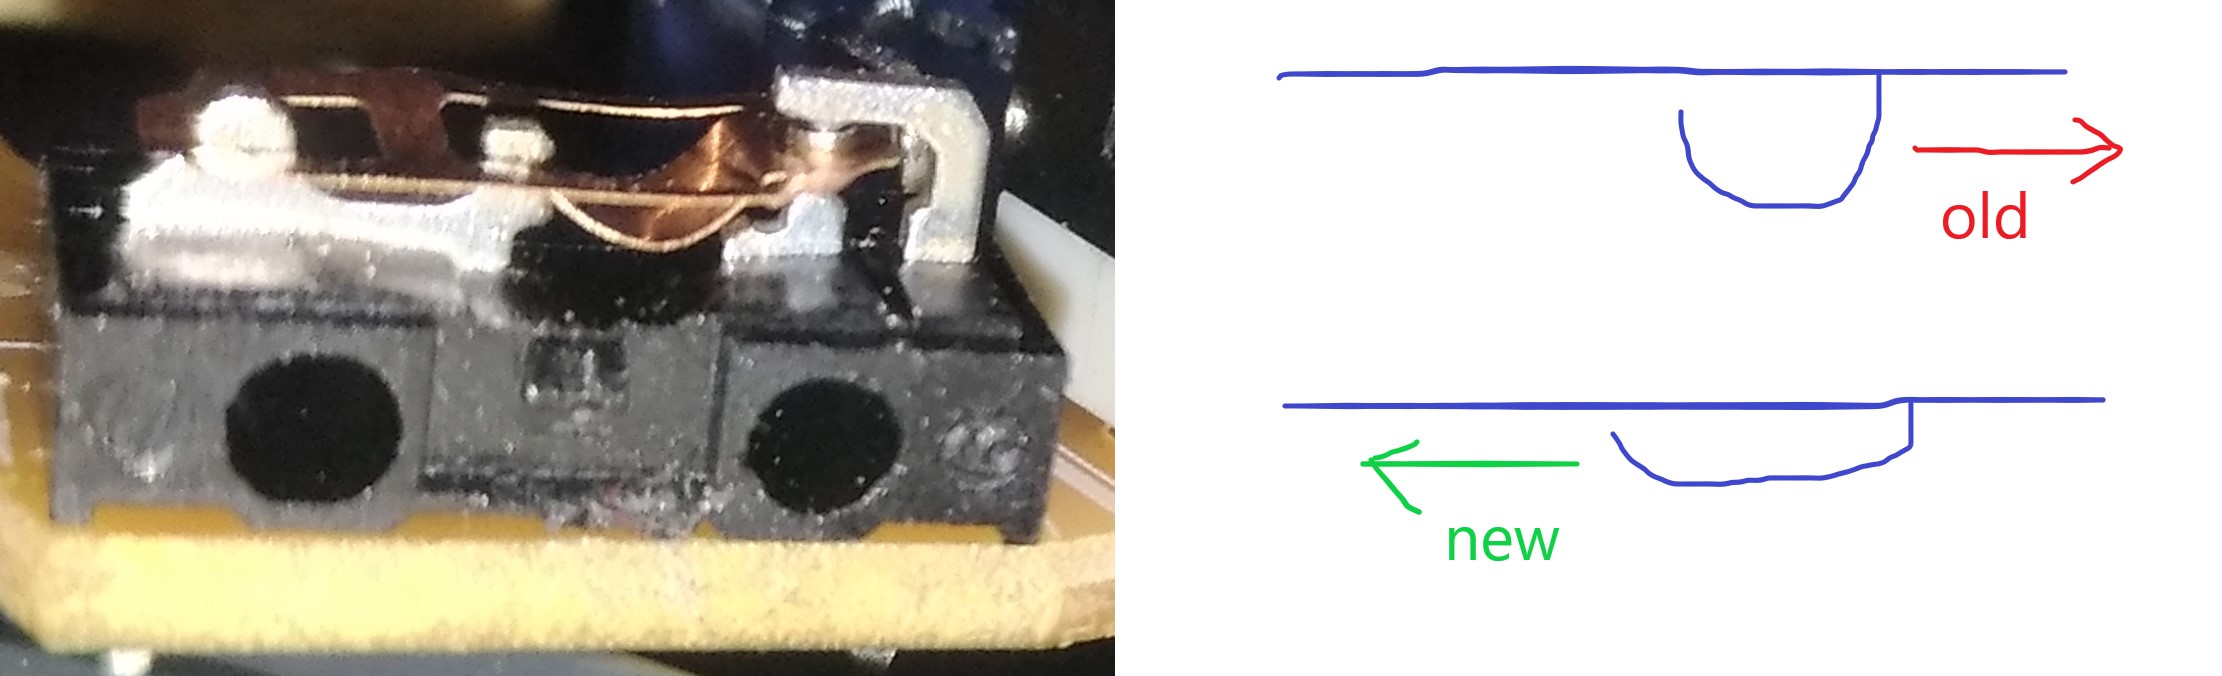
This is what the switch looks from above.
Below is what the switch looks like from the side. WARNING: after you take out the metal, it will be incredibly tedious to place it back. At first I thought I needed to bend it more, like in I’ve drawn next to the switch labeled in ‘red’ with old. That didn’t work. After putting it back together pressing the button didn’t make a clicking noise anymore and it would still double click on it’s own.
So I took it apart again and tried to flatten the curve as drew next to the green ‘new’. After flattening the metal curve, it was so hard to put back. My strategy was to line up the curve part with where it’s supposed to go. Then try to lever the back part of the metal back to were it was with a flat screw driver. You can press with your finger to simulate a click and the top of the metal should move without vibrating.
When putting the switch cover back, to prevent the fat T piece from falling out I flipped my board and switch cover upside down. With the switch upside down, the fat T piece won’t fall out. With both the circuit board and the switch cover flipped, I placed the switch cover back.
After putting it back together and testing it out, my mouse stopped double clicking! I guess over millions of clicks, I caused the ‘u’ to become really thin or tall and lose it’s spring. When pressing it without enough spring, it allows the end piece that closes the circuit to vibrate. The vibrations are what cause the double click. By flattening or fattening the u shape and putting it back, you make it springier, preventing the vibrations. Now with it fixed, I hope that I can keep using it for 2 more years!